
")
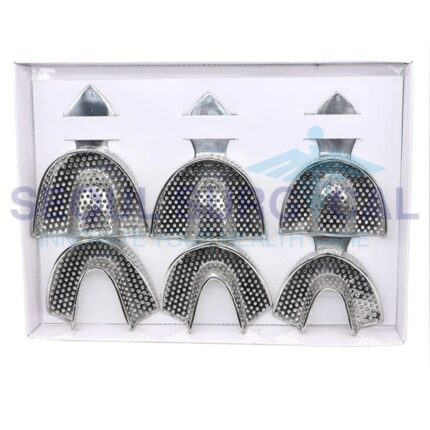
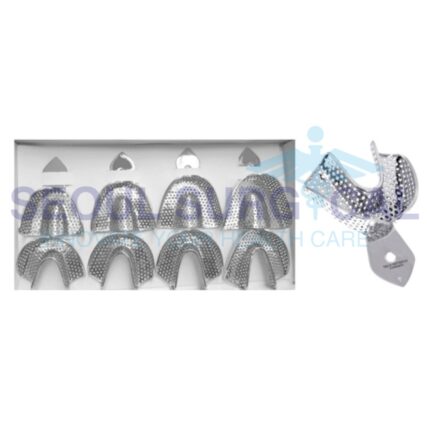
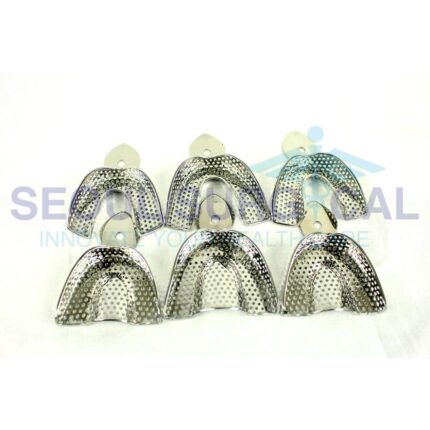
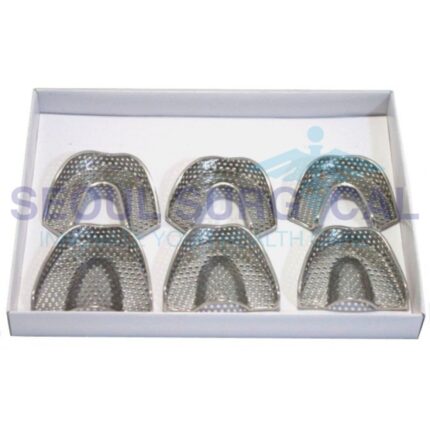
Impression trays are dental instruments used to make an accurate negative reproduction (impression) of a patient’s teeth and surrounding oral structures. These impressions serve as a mold for the creation of dental prosthetics, crowns, bridges, dentures, and other dental restorations. Impression trays come in various designs and sizes to accommodate different dental procedures and patient needs. Here are key features and types of impression trays:
Key Features:
Material: Impression trays are commonly made of rigid plastic or metal. Some trays have perforations or perforated surfaces to improve the retention of impression material.
Size: Impression trays come in different sizes to fit various arch shapes and accommodate the specific needs of individual patients.
Rigidity: The trays are designed to be rigid enough to maintain their shape during the impression process, ensuring accuracy in the final mold.
Handle: Many impression trays have a handle for ease of placement and removal from the patient’s mouth. The handle also allows for better control during the impression-taking process.
Perforations: Some trays have perforations or holes to allow excess impression material to escape, enhance material retention, and improve the overall accuracy of the impression.
Types of Impression Trays:
Full Arch Trays:
Design: Full arch trays cover the entire arch of either the upper or lower jaw.
Use: They are used for taking impressions for complete dentures, full-arch restorations, or when capturing the entire dentition is necessary.
Partial Arch Trays:
Design: Partial arch trays cover a portion of the dental arch, either anterior (front) or posterior (back).
Use: Partial arch trays are used when specific areas of the mouth need to be captured, such as for partial dentures or limited restorations.
Stock Trays:
Design: Stock trays are pre-made, generic trays available in various sizes.
Use: They are suitable for general use and are convenient for quick impressions. However, they may need adaptation for an optimal fit.
Custom Trays:
Design: Custom trays are individually fabricated to fit the patient’s specific oral anatomy.
Use: Custom trays offer a more precise fit, enhancing the accuracy of the impression. They are often used for complex cases or when a high level of detail is required.
Triple Tray:
Design: Triple trays combine a single-use tray for one quadrant with a bite registration feature.
Use: Triple trays are commonly used when capturing impressions for single-unit restorations in the posterior region, along with an accurate bite registration.
Impression-Taking Process:
Tray Selection: Choose the appropriate tray size and type based on the dental procedure and patient’s anatomy.
Impression Material: Load the selected impression material (such as alginate or silicone) into the tray.
Placement: Seat the loaded tray into the patient’s mouth, ensuring proper placement and coverage of the dental arch.
Setting Time: Allow the impression material to set according to its specific setting time.
Removal: Gently remove the set impression from the mouth, taking care not to distort the mold.


Reviews
There are no reviews yet.